Meters, Test Kits, Inspection Supplies & Tools!
 Discontinued
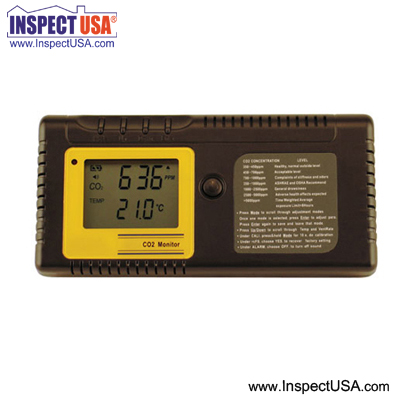
Air Quality Monitor: Measures CO2 & Temperature (CDM1060)
Reference only — not for sale
| Model | CDM1060 |
|---|---|
| Manufacturer | General Tools |
| Category | Air Quality |
| Status | Discontinued |
Product details (archived)
The information below is retained for reference only. This item is discontinued and cannot be ordered.
The CDM1060 is a portable, accurate handheld CO2 monitor. In addition to measuring the CO2 concentration, this device can also measure the ambient temperature. It uses NDIR (non-dispersive infrared) technology to improve the long term stability.
Features:
- Sample Method - Diffusion or flow through (50 ~200 ml/min)
- Independent CO2 and Temperature readings
- Alarm will sound at 1000ppm ASHRAE limit (can be disabled)
- Calculates and Displays Ventilation Rates
- Min/Max mode
- IR-SoC technology
- Data logger that can record up to 24 hours of data (at one log every 30 minutes)
- Portable CO2 monitor
- Stable NDIR sensor for CO2 detection
- Ensure Indoor Air Quality
- RJ45 socket connector digital output
- Adjustable setting parameters
Specifications:
- CO2 Range: 0 to 3000ppm
- CO2 Accuracy: ±50ppm or ±5% of reading
- CO2 Resolution:
- 1ppm at 0 to1,000ppm
- 5ppm at 1,000 to 2,000ppm
- 10ppm at 2,000 to 3,000ppm
- CO2 Repeatability: ±20ppm
- Response time: less than 2 minutes for 63% of step change
- Warm-Up time: approximately 60 seconds at 22°C
- Temperature range: 32° to 122°F (0° to 50°C)
- Temperature resolution 0.1 °F/°C)
- Temperature accuracy ±2°F (±1°C)
- Temperature display options: °F / °C, or Off. Set with Up / Down button
- Temperature response time: 20 to 30 minutes (case must equilibrate with environment)
- Operating temperature range: 32° to122°F (0° to 50°C)
- Operating humidity range: 0 to 95% RH, non-condensing
- Storage temperature range: -4° to 140°F (-20° to 60°C)
- Power: (4) AA 1.5vDC batteries or 6vDC power adapter
- Dimensions: 0.96 x 3.19" x6.5" (24.3 x 81.1 x 165 mm)
- Weight (including batteries): 9.65 ounces (273.6 grams)
Operation of Mode Adjustment
1. ALTI Mode:
1.1. Press the Mode Button( 5 ), ALTI flashes
1.2. Press Mode( 5 ) to alter between m (meters) and ft (feet)
1.3. Press Up/Down ( 4 /3 )to adjust the altitude (Step=100m/500ft)
1.4. Press the Enter Button( 2 ), save or leave the ALTI Mode, return to User
Mode
2. ALARM Mode
2.1. Press the Mode button(5 ), until ALARM flashes
2.2. Press Enter Button( 2 ), Show ALARM ,"speaker icon" flashes; Press Up/Down(
4/3 ) to turn on/off the ALARM
2.3. Press the Enter( 2 ), save the setting and return to UserMode.
3. OUTSIDE Mode
Note: Ventilate rate represents how much air is introduced into the indoor space from the outside. Low values indicate low ventilation rates and potentially poor air quality. High levels indicate excessive ventilation and potential excessive energy usage.
To obtain an accurate measurement, reading should be taken 2~3 hours after occupancy has stabilized in a space or at a peak in daily CO2 concentrations. In indoor air quality control, CO2 value is an indicator of ventilation rate. 400ppm (Parts Per Million) is the default CO2 concentration outside (according to ASHRAE: American Society of Heating, Refrigeration and Air conditioning Engineers)
3.1. Press the Mode button( 5 ) ,until OUTSIDE flashes
3.2. Press Enter( 2 ), show OUTSIDE, CO2 and PPM flash; Press Up/Down( 4/3 ) to
adjust the reading
3.3. Press the Enter( 2 ), save the setting and return to UserMode; After
modification, the VENT Rate will change
4. CALI Mode
The CO2 monitor has been calibrated in the factory and should recalibrate
every 12 months with a specified concentration of CO2. Sensor drift usually
occurs in linearity. Please follow below steps.
4.1. If battery icon shows low power, please replace new batteries or use AC
adapter
4.2. Press the Mode button( 5 ), until CALI flashes
4.3. Press Enter( 2 ), CALI shows on display
4.4. Adjust the lower display to ambient CO2 value by Up/Down ( 4/3 )Button.
4.5. Press Mode button ( 5 ) more than 10 sec., CALIBRATING flashes. Calibration
will be done after 5 min and LCD will appear "PASS". If LCD appear "FAIL",
please calibrate once again.
4.6. Press Enter( 2 ), return to UserMode
5. DATA LOGGER Mode, unit has a built-in
datalogger , which can provide users the past CO2 and temperature readings
within the past 24 hours.
5.1. Press the Mode button( 5 ), until DATALOGGER flashes
5.2. Press Enter( 2 ), CO2 and Temperature show up; Press Up/Down( 4/3 ) to page
up/down the reading .
5.3. Press the Enter( 2 ), return to UserMode
6. MaxMin Mode
6.1. Press the Mode button( 5 ), until MAX MIN flashes
6.2. Press Enter button( 2 ), MAX and MIN CO2 reading alternatively shows.
6.3. "CLR" will flash if press Up/Down( 4/3 ) Press Enter( 2 ),to CLEAR the MAX
and MIN record .
6.4. Press Mode or Enter( 5 ), return to UserMode
7. rcFSMode: If user set or calibrated the sensor
wrongly, you can recover the factory setting
7.1. Press the Mode button( 5 ), until rcFS flashes on the lower display
7.2. Press Enter( 2 ), "no" shows on the upper display
7.3. Press Up/Dow( 4/3 ), "no" change to "yes"; Press Enter( 2 ), Factory
Setting will reload, return to UserMode
7.4. Press Mode( 5 ), leave rcFS Mode, return to UserMode
Supplied with:
- AC power adapter
- (4) AA batteries
- Users manual
- 1 year limited manufacturer's warranty
Available replacements in Air Quality
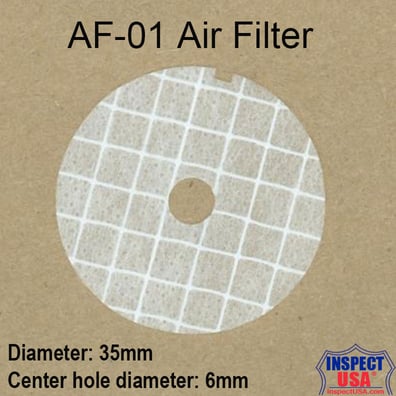
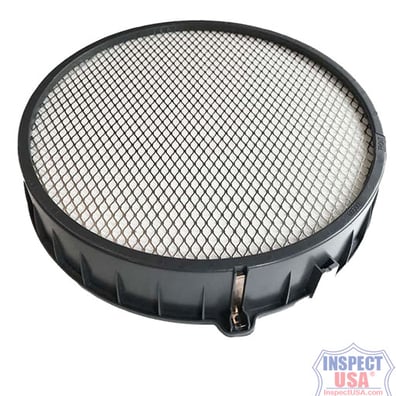
Healthway Main Filter (60500) fits Air Purifier Deluxe
$239.40 now $225.00
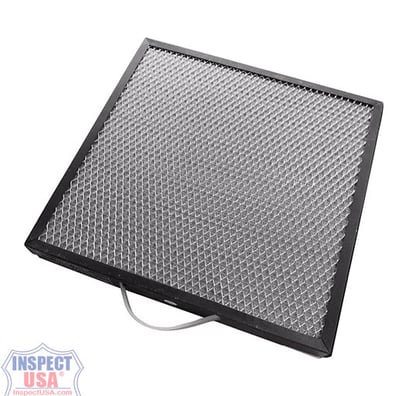
Healthway Carbon-Zeolite (50400) Pre-Filter
$165.70 now $154.80
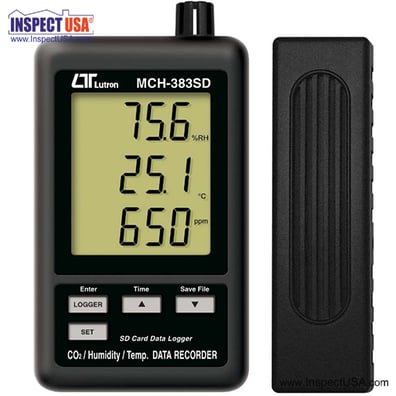
Air Quality Monitor (MCH-383SD) CO2, RH & Temp DataLogging
$297.99 now $225.00
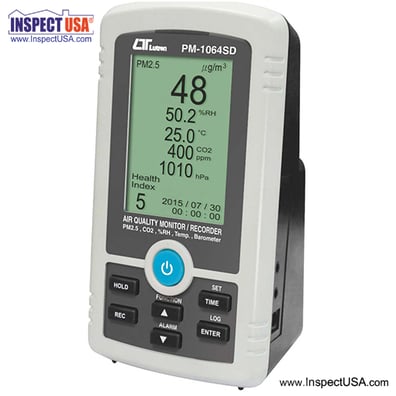
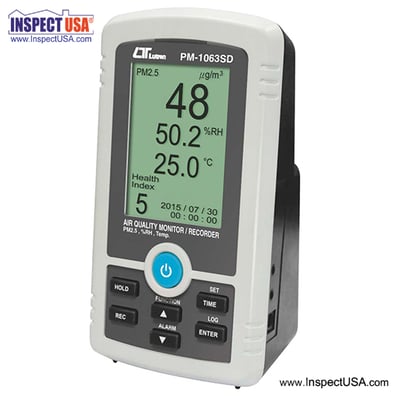
Indoor Air Quality Monitor Logger (PM-1063SD) Measure PM2.5, Temp & RH
$405.90 now $333.00